blog
Breathing new Life into a glitching Mouse
Big players in the gaming mouse industry, such as Logitech, manufacture mice with right and left click switches that are rated for only 20 million clicks until failure, despite the existence of switches with up to 80 million clicks. I had a SteelSeries Rival 600 with a broken right click and a glitchy left click lying around. Although these switches were rated for 60 million clicks, years of use had eventually worn them out. The simple solution would have been to replace the mouse and move on, but I decided to try repairing it instead. This would not only save me time and money, but also reduce electronic waste from disposing of the old mouse. Fortunately, these mouse switches are usually standardized and can be replaced with a soldering iron and some time.

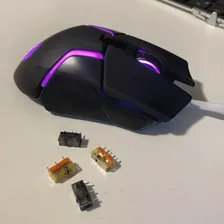
The mouse in questions with some spare switches
With the idea of repairing my mouse in mind, I searched for replacement switches to buy. I came across an excellent article on mouseclub.co that describes common choices of switches, which greatly helped me in selecting a fitting switch. In the end, I chose an assortment of TTC Dustproof Gold and Kailh GM 8.0 switches to build a small repertoire for future switch replacements. I selected these switches because of their high click rating and availability, as longevity was my primary concern.
There are numerous guides available on YouTube and other platforms that describe the procedure for replacing switches on different brands of mice. Even if your specific mouse model is not shown in any of the guides, the procedure can be easily adapted as it is almost the same for all models.
To begin, locate all screws that need to be removed to open the mouse. These are usually located beneath the sliding pads under the mouse and will require temporary removal of these stickers, which can be done semi-destructively. Once the mouse is open, it may require further disassembly until the logic board is separate. The old switches can then be desoldered with some skill. I found it easiest to add more solder to the pads and then touch all three legs of the switch with the iron simultaneously. This reflows all three pads at the same time, and the switch is free to fall out.
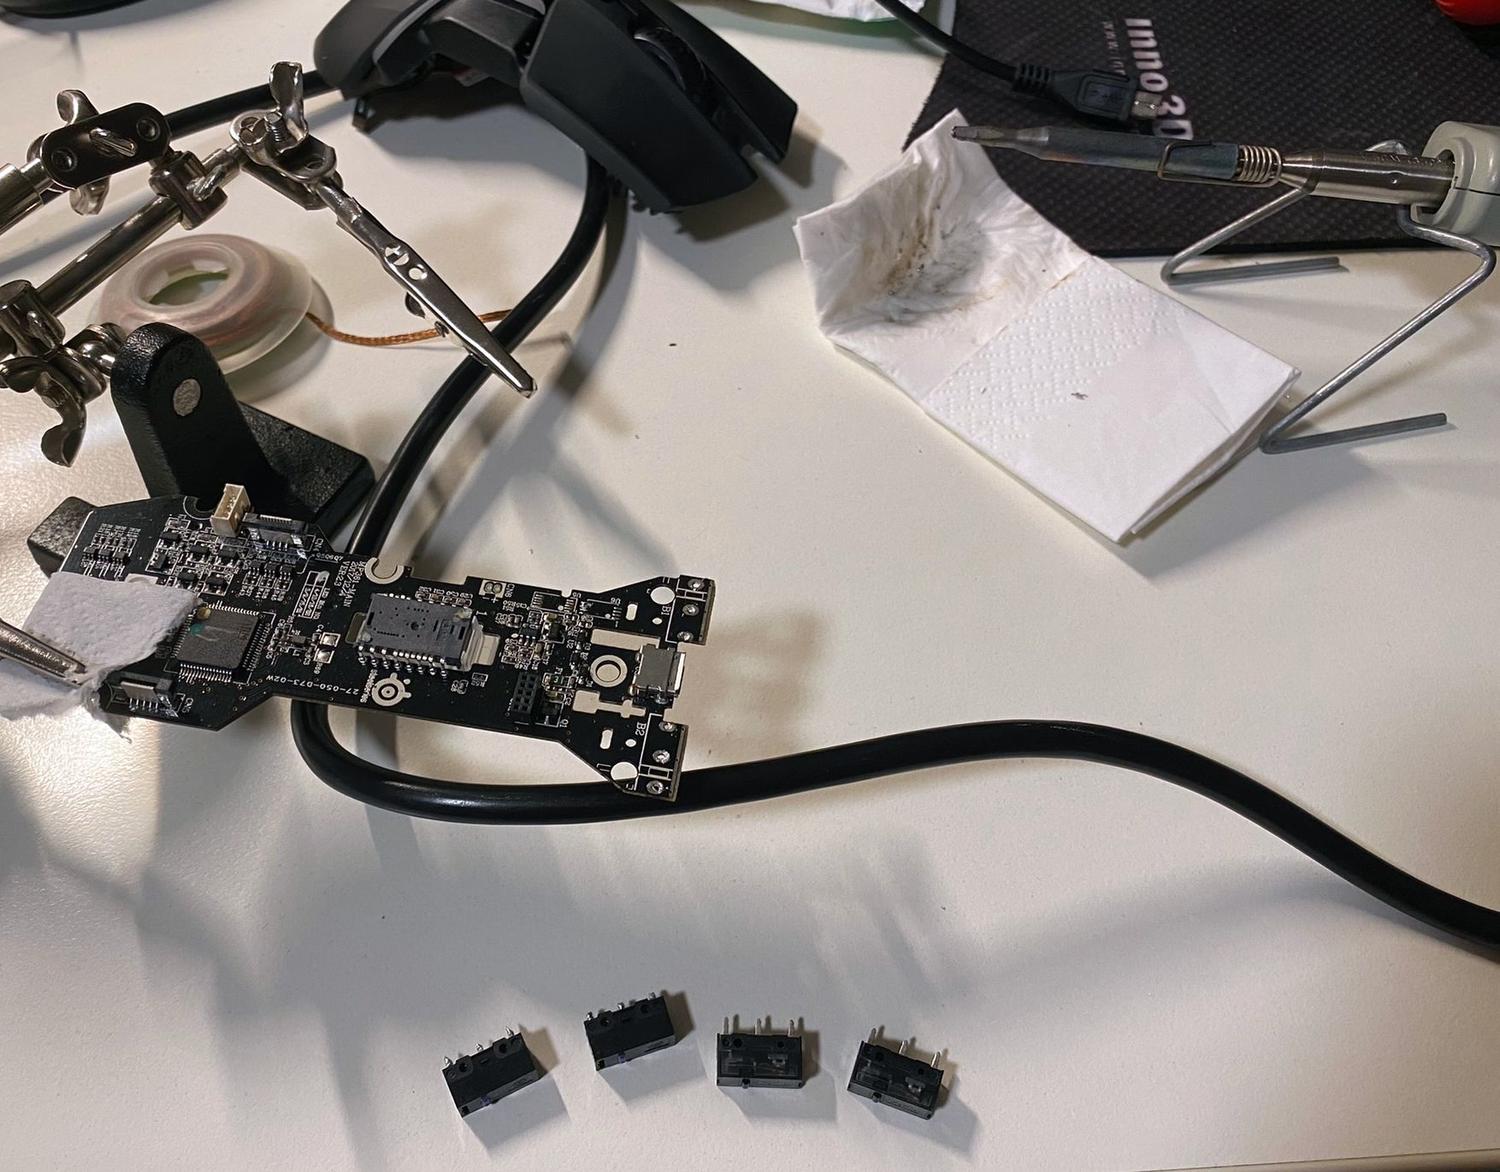
The disassembled mouse with desoldered switches
To add the new switch, remove the excess solder and let the surface tension reform the holes. Then add the new switch, being careful of its orientation, and resolder the pins with a bit of fresh solder. After some reassembly, voila! The old/new mouse is now working perfectly again.